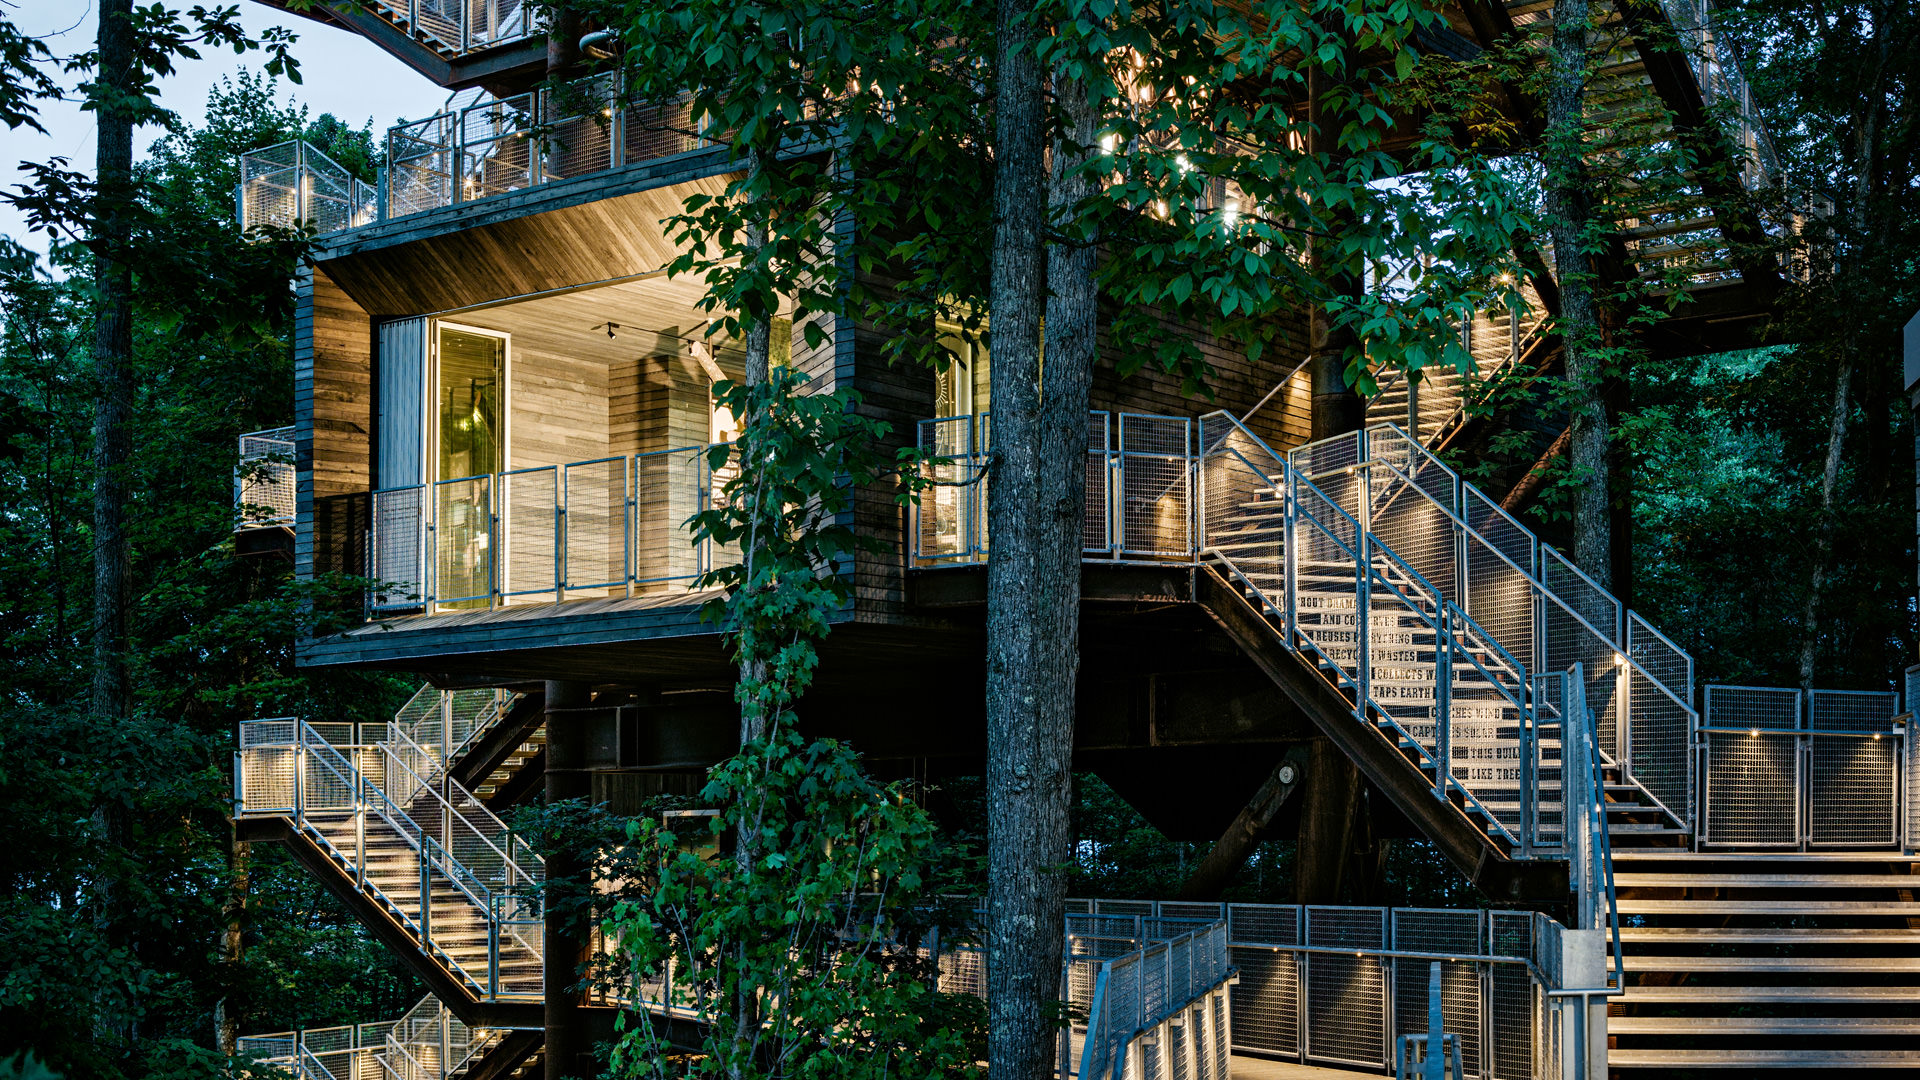
Building a tree house can be a rewarding project that fosters creativity, provides a unique space for relaxation, and strengthens your connection with nature. Whether you’re constructing a simple play space for children or a more elaborate retreat for adults, careful planning and execution are essential. This guide will walk you through the steps of building a tree house, from selecting the right tree to adding the finishing touches.
1. Planning Your Tree House

Choosing the Right Tree
The first step in building a tree house is selecting a suitable tree. Look for a healthy, sturdy tree with a thick trunk and strong branches. Ideal trees include oak, maple, and fir, as they provide ample support and stability. Avoid trees with signs of disease, decay, or weak branches. The tree should be at least 8-12 feet tall to ensure a safe height for your tree house.
Designing Your Tree House
Before you start building, sketch a design for your tree house. Consider the size, shape, and features you want to include. A basic design might consist of a platform with walls and a roof, while more elaborate designs could incorporate windows, a ladder, and even a small deck. Think about how you want to use the space—whether for play, relaxation, or storage—and tailor your design accordingly.
Checking Local Regulations
Before proceeding, check with your local building authority to understand any regulations or permits required for constructing a tree house. Some jurisdictions have specific guidelines regarding height, size, and location, especially if the tree house is intended for more than just personal use.
2. Gathering Materials and Tools
Once you have a design and have chosen a tree, gather the necessary materials and tools. Here’s a list of what you might need:
Materials:
- Pressure-treated lumber (for the platform, walls, and roof)
- Plywood (for flooring and walls)
- Decking screws and nails
- Wood preservative (to protect against rot)
- Safety railing materials (if applicable)
- Roofing materials (shingles or waterproof tarp)
Tools:
- Power drill
- Circular saw
- Level
- Measuring tape
- Hammer
- Safety gear (gloves, goggles, and a hard hat)
3. Building the Tree House
Creating the Foundation
Start by building the foundation of your tree house. This typically involves creating a platform that will serve as the base. Use pressure-treated lumber to construct a square or rectangular frame that fits securely around the trunk of the tree. Ensure that the frame is level and supported by at least two sturdy branches.
Securing the Platform
Once the frame is in place, secure it to the tree using lag screws or bolts. Drill holes through the frame and into the tree, ensuring that you don’t damage the tree’s health. The platform should be sturdy enough to support the weight of the tree house and its occupants.
Adding the Floor
After securing the frame, lay down plywood sheets to create the floor of the tree house. Use screws to fasten the plywood to the frame, ensuring that it is level and stable. If desired, you can add insulation or a weatherproof barrier beneath the floor for added comfort.
Constructing Walls and Roof
Next, build the walls of your tree house. Use additional plywood or lumber to create frames for the walls, ensuring they are tall enough to provide adequate headroom. Secure the walls to the platform and to each other, using screws or nails for stability.
For the roof, you can choose a flat design or a sloped one to allow for rain runoff. Use plywood or roofing panels, securing them with screws. If you want to provide additional protection from the elements, consider adding shingles or a waterproof tarp.
4. Adding Features and Finishing Touches
Accessing the Tree House
To access your tree house, you’ll need to build a ladder or a staircase. A simple ladder can be constructed from lumber, ensuring it is securely attached to the tree house and has enough width for safe climbing. If you prefer a staircase, ensure it is built with sturdy materials and has appropriate railings.
Incorporating Windows and Ventilation
To make your tree house more inviting, consider adding windows for natural light and ventilation. You can use Plexiglass or wooden shutters to create openings that can be closed when needed. Ensure that the windows are securely framed and that any glass is protected from breaking.
Safety Features
Safety should be a top priority. Install railings around the platform to prevent falls, and ensure that the ladder or stairs are stable and secure. Consider adding a safety net or soft landing area below the tree house for extra protection.
Personalizing Your Space
Once the structure is complete, it’s time to personalize your tree house. Paint the exterior in fun colors, add cushions or blankets for comfort, and decorate the interior with artwork or fairy lights. You can also include shelves for books, games, or toys, making it a cozy retreat.
5. Maintenance and Care
After completing your tree house, regular maintenance is essential to ensure its longevity. Inspect the structure periodically for signs of wear, such as loose boards or rusted screws. Reapply wood preservative as needed to protect against rot and insect damage. Keep the area around the tree house clear of debris to prevent pests and maintain a safe environment.
Conclusion
Building a tree house is a fulfilling project that can provide years of enjoyment and cherished memories. By carefully planning, gathering the right materials, and following safety guidelines, you can create a unique space that brings you closer to nature. Whether it becomes a play area for children or a peaceful retreat for adults, a tree house is a testament to creativity and craftsmanship, offering a special place to unwind and connect with the outdoors.


No comment